Barcode System
Overview
A barcode system consists of mobile computers, printers, handheld scanners, and supporting software to automate data collection when hand recording is not feasible or timely.

This article will cover the steps to set up your barcode system with Labii LIMS.
Requirements
Labii account - Create a Labii account if you don't already have one: https://www.labii.com/signup
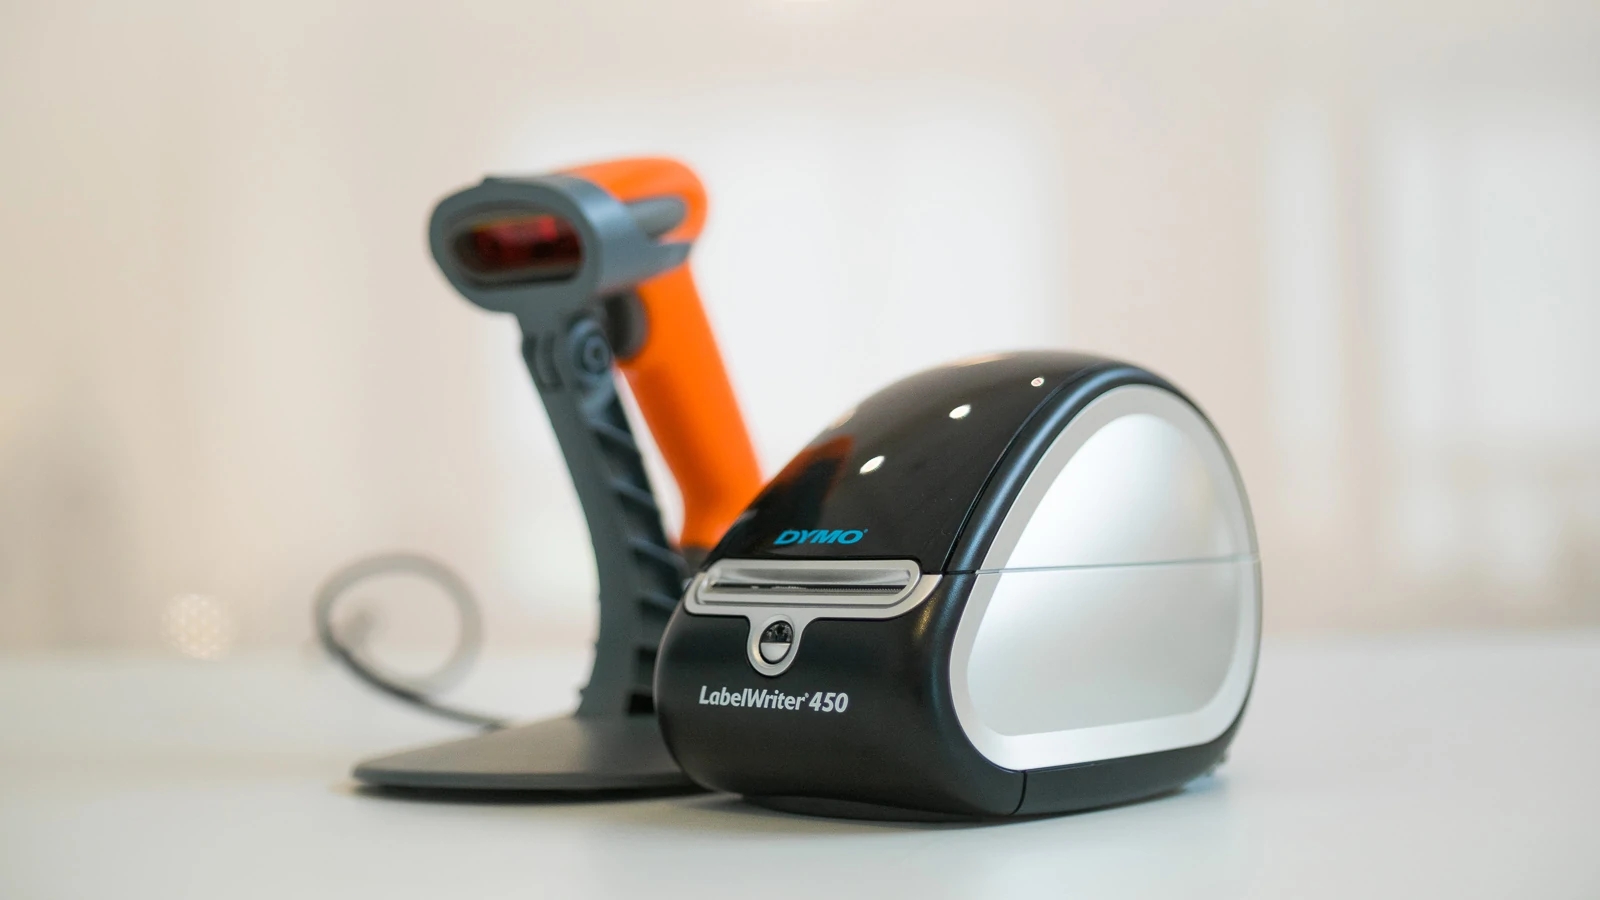
Label printer - An easy-to-use thermal label printer that you can connect to your laptop, tablet, or smart phone. Here are a list of label printers: https://www.amazon.com/Desktop-Label-Printers/b?ie=UTF8&node=8553181011
Barcode scanner - This is a barcode scanner that can be connected to your laptop, tablet, or smart phone, and can be used to scan both barcodes and QR codes at the same time. Here are a list of barcode scanners: https://www.amazon.com/Barcode-Scanner/s?k=Barcode+Scanner
Generate barcodes
Using Labii, barcodes and QR codes can be generated automatically. In Labii, UIDs (Unique IDs) are encoded into both barcodes and QR codes by default.
Use column widgets to display barcodes
The Labii platform comes with many column widgets for displaying barcodes and QR codes in a list view. To include such columns in the list view, you need to do the following:
You can either create a new table with the barcode system that you want to use or you can use an existing table that you have already created.
Open table properties via Settings -> Tables -> Click a table.
Click Add column with Barcode or QR code widget. For tubes with limited space, a QR code is a better option.
Configure the barcode/QR code format.
The barcode/QR code will automatically be displayed when a new record is created for the table.
The barcode/QR code can be encoded with your own barcode string by simply providing values to the newly created barcode/QR code column.
Use section widgets to display barcodes
Aside from displaying barcodes or QR codes as a column, you can also display barcodes or QR codes for each record during the section view.
Barcode widget for all records
If you want to include the barcode/QR code widget in all newly created records, you can configure the Default sections of a table to include the widget.
Open table properties via Settings -> Tables -> Click a table.
Click Default sections tab
Add a new section with Barcode or QR code widget.
The barcode/QR code will automatically be displayed when a new record is created for the table.
The barcode/QR code can be configured in the format you need by clicking the Edit button.
Barcode widget for a particular record
There is a manual way of adding a barcode or QR code section for a particular record if the default section has not been configured and you wish to add one.
Click Sections if you are not on the Sections view
Add section with Barcode or QR code widget.
The barcode/QR code can be configured in the format you need by clicking the Edit button.
Print barcodes
A barcode / QR code can be printed on your own label printer. Labii allows you to customize information to be included, label size, font size, etc.
Use section widgets to print barcodes
With the Barcode or QR code widget, you can print each barcode / QR code individually.
Click Sections if you are not on the Sections view.
Navigate to Barcode or QR code widget or Add section with Barcode or QR code widget.
The barcode/QR code can be configured in the format you need by clicking the Edit button.
Click Print button to print.
Use bulk print to print barcodes
In most cases, after a batch of samples are accessed, you need to print barcodes in bulk. The bulk print feature can meet your needs.

Please check all records you wish to print
Click on Bulk print and choose either Barcode or QR code from the drop-down list.
In the print window, you can configure the barcode and label to be printed.
On the right side of the screen, you will be able to see the preview of barcodes or QR codes.
Once you are satisfied with the configuration of the form, click the Print button.
In addition, you can also save the configuration for later use. Once you save the configuration, the same configuration will be loaded the next time you print.
Scan barcodes
Labii is equipped with a scanning page that allows you to scan barcodes / QR codes using either your camera or a commercial scanning device.

Click Scan from Navbar.
Under the scan settings options, you can either select a camera or a scanner as the equipment to be used for scanning.
Camera, Scanning barcodes/QR codes can be done using the camera on your laptop/tablet/phone.
Scanner, Labii also supports any commercial scanner available on the market. It is as simple as connecting the scanner to your laptop and beginning to scan.
Choose the Action after scan.
Append to list, append the result to the right panel.
Open in new, open the result in a new tab.
Open in current, open the result in the current tab.
In the next step, you will be able to start the scan, which will, in turn, produce the results based on the action you defined earlier in step 3.
There are some additional batch operations that can be performed on the scanned results if you choose Append to list. This will enable you to further modify the records after you have scanned them.
Bulk edit, same as Batch operations
Bulk print, same as Batch operations
Actions, same as Batch operations
Open list view
Clear
Field selection with scanning
Moreover, you can also use the scanning function to select records. For instance, if you would like to assign a location to a sample, you can simply scan the barcode or QR code of that location.

Click Edit of ForeignKey or ForeignKeys widget.
Scan records using your commercial scanner. Once you have scanned the records, the field will be automatically filled.
Click Submit.
Last updated